Dear Sprout,
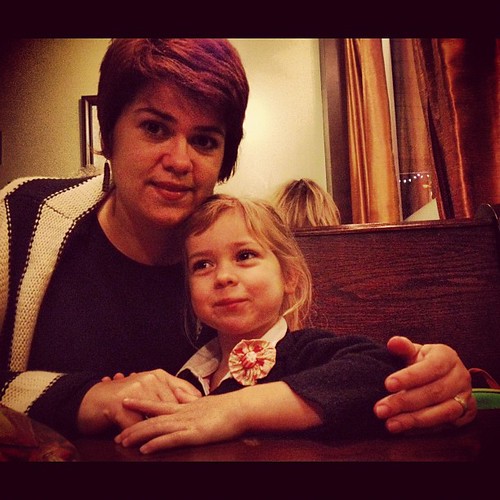
In March, you turned four years old. It's not just another year in the calendar, but truly a transformation from plump, adorable little girl to some new long-legged creature that looks more like a kindergartner than a baby. As always, I cheer each new development and I'm always excited for the next stage.
I'll admit though to being slightly sad that many of your toddler speech patterns have slipped away. I love when you are watching t.v. with me and a commercial comes on and you tell me in your wise and knowing way, "That's just and advertusement, Mom!" I grin inside every time I hear you talk about "hairplanes" and "hairports" and I hope that is the last mispronunciation to disappear.
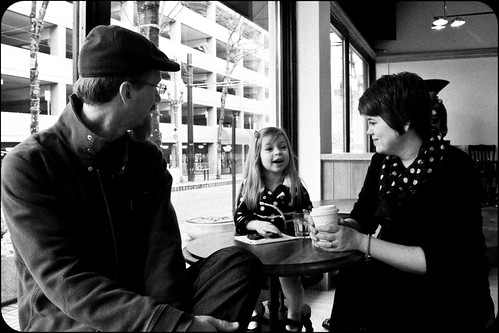
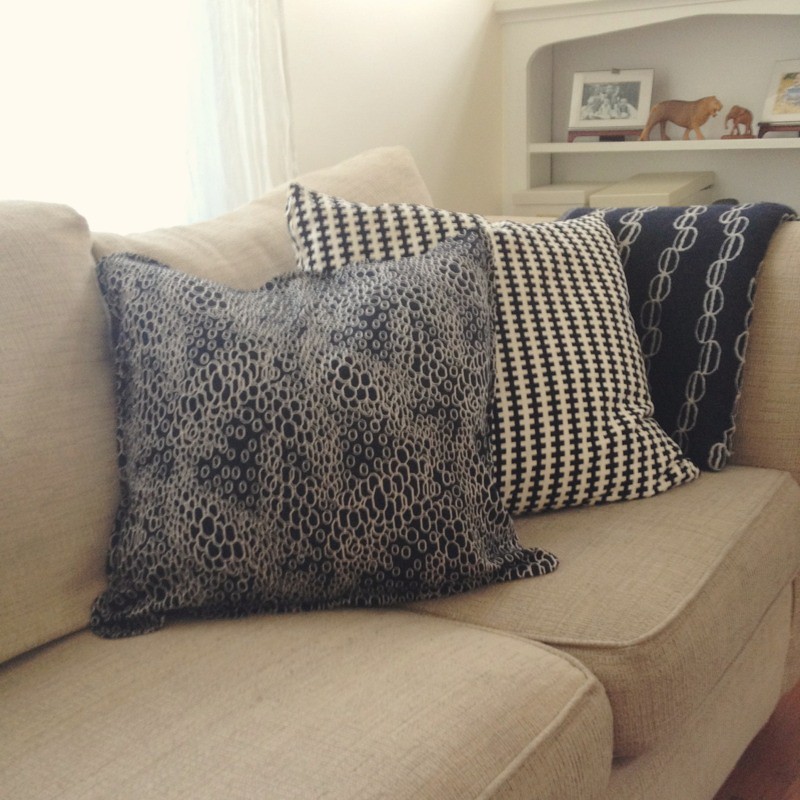
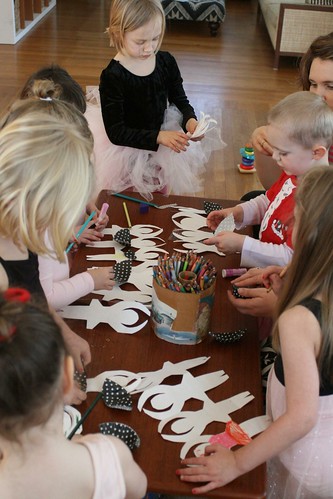
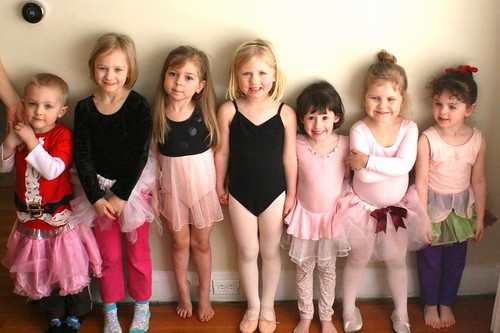
This year for your birthday you really wanted a ballet themed party. I tried to talk you into an artist party since you've declared that is your future career, but you were not dissuaded. Personally, I was just trying to avoid a Pepto Bismal pink party. Every ballet themed birthday party geegaw that I saw in the party store was pink, pink, pink. And I am not a fan of pink, pink, pink. Fortunately I also saw a lot of cute black and white party decorations so we put together a black and white ballet party with just a hint of pink. You were thrilled.
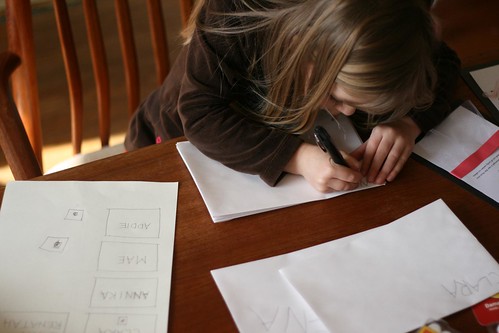
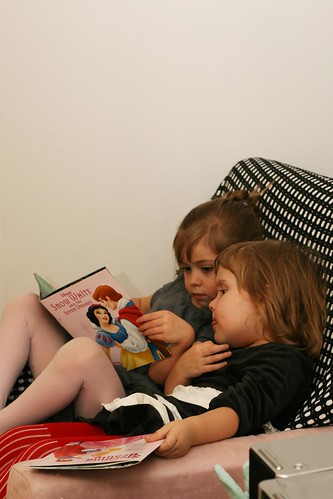
You are really interested in reading and writing. In fact, the word "obsessed" comes to mind some days. You want to know "What that says?" and "How do you spell ___?" and "Mama, what does a little 'm' look like?" Because you practice writing, drawing and cutting all the time, your fine motor skills are developing really quickly. Already the difference between how you write your name now and only three months ago is very pronounced. You meticulously addressed all the envelopes for your birthday invitations and then signed thank you notes for everyone after the party.
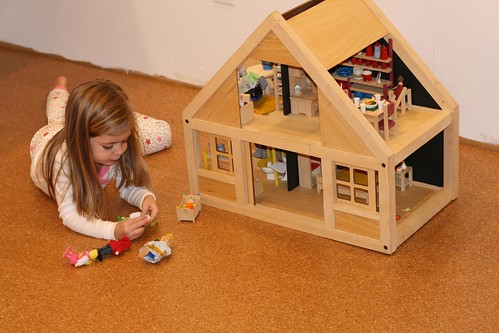
The nice thing about four is you have friends. Real friends. And you actually play together with little adult support. It's nice to know that we can take you places and you and your friends will run off for an hour or two of uninterrupted play. Of course, we can't let down our guard too much. One night Cara and I were having a beautiful heart to heart conversation while you and Little Bear were playing in the basement. We heard much gleeful laughter but thought little of it, until we discovered both of you covered from head to toe in marker. Fortunately they were water-based markers and came off pretty easily leaving only mild bruise-like discolorations the following day.
Your personality remains fiercely independent and intense. You can maintain focus for an hour or more on a detailed craft or writing project, and you can just as quickly become frustrated with a mistake and destroy what you've been working on in one quick crumple of the paper and an exasperated shriek. You do not like to be told what to do in any way shape or form. As parents, we're constantly evaluating which battles are worth fighting and which ones are not essential. Like most strong-willed girls, you like to have choices and generally that works to defuse situations. "Would you like to go potty or brush your teeth first?" goes over far better than a directive. (Thank you, Love and Logic!)

You love to have routines and checklists. You have a "Morning Routine" taped to the door of your bedroom in an attempt to smooth the workaday morning hustle. You like routines so much, you carefully numbered and drew a 6 step routine for your Rapunzel doll so she will know order in which to proceed when she takes a bath and gets dressed. For a while, you were refusing to wear underwear because they were "uncomfortable". Magically, Days of the Week underwear seem to have solved this problem. The compulsion to wear the Right underwear for each day apparently overrides any sensory issues.
Child, I KNOW you. That part of you--that fierce, frustrated, checklist-loving part of you. That's me. I only hope and pray we can steer your stubborn little will in the right direction so you can grow into a woman that is kind and strong and wise and true.
Love,
Your Mama